In the world of FDM 3D printing, support structures are a necessary evil—critical for printing overhangs and complex geometries, yet often frustrating to remove cleanly. Enter PVA filament: a unique, water-soluble material that opens the door to cleaner prints and more creative freedom. In this post, we’ll explore what PVA filament is, what it’s used for, its physical characteristics, and the pros and cons of integrating it into your workflow. We’ll also break down how to use PVA effectively as a dissolvable support material.
What is PVA Filament?
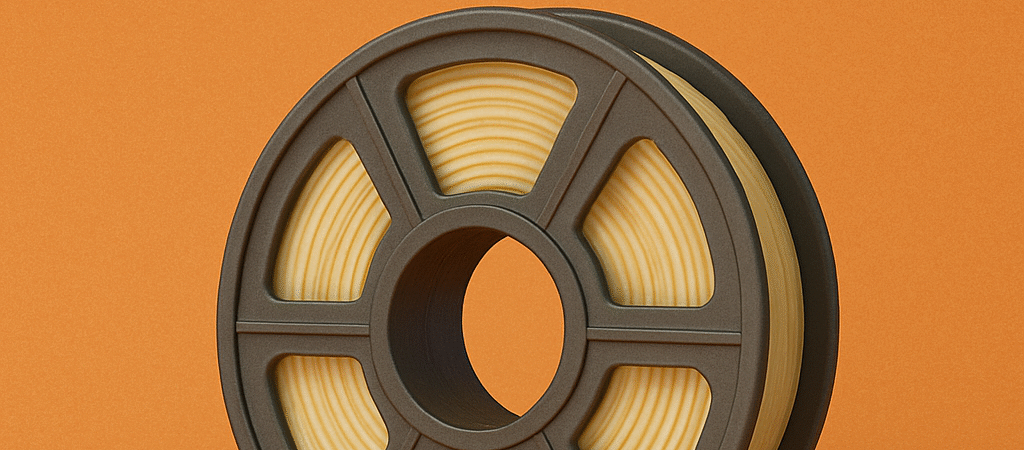
PVA, or Polyvinyl Alcohol, is a synthetic polymer that’s prized in 3D printing for one special reason: it dissolves in water. While it may not be your go-to material for everyday prints, PVA shines as a support filament, especially when paired with dual-extruder printers or AMS-equipped machines like the Bambu Lab P1S.
It typically comes in a natural yellowish or translucent color and is most often used alongside PLA, though it’s also compatible with other low-temperature materials like PETG and TPU (with caveats).
Uses of PVA in 3D Printing
PVA’s main use is as a dissolvable support structure for prints that have:
- Complex geometries
- Internal cavities or moving parts
- Steep overhangs or delicate features
- Parts that need a perfect surface finish on all sides
Once the print is complete, simply submerge it in warm water. The PVA will gradually dissolve away, leaving your primary material untouched and clean.
This makes PVA a game-changer for:
- Engineering prototypes with intricate moving joints
- Art and sculpture prints that demand clean aesthetics
- Educational models showing internal structures
- Multi-material prints requiring clean separation or support
Physical Properties of PVA Filament
Understanding the characteristics of PVA will help you get the most out of it:
| Attribute | Details |
| Appearance | Translucent or light yellow |
| Diameter | Commonly 1.75mm |
| Melting Temperature | 180–200°C |
| Bed Temperature | 45–60°C (often optional) |
| Solubility | Fully dissolves in warm water |
| Print Speed | Moderate (to avoid clogs/moisture) |
| Compatibility | PLA, TPU, some PETG (not ABS/ASA) |
PVA is highly hygroscopic, meaning it absorbs moisture like a sponge. It must be stored in a dry box or airtight container with desiccant when not in use.
Advantages of Using PVA Filament
✅ Water Soluble
You can remove supports cleanly, without tools, sanding, or scarring your print.
✅ Precision Support for Complex Prints
Perfect for organic shapes, trapped geometries, and models that require pristine undersides.
✅ Time-Saving
No need to carefully break away supports—just drop your print in water and walk away.
✅ Educational and Experimental
Great for teaching, demonstrating dissolvable materials, or exploring dual-material printing.
Disadvantages of PVA Filament
❌ Moisture Sensitivity
PVA degrades quickly in humid environments. A spool can become unusable in just a few days of exposure.
❌ Limited Material Compatibility
Doesn’t bond well with high-temp filaments like ABS, ASA, Nylon, or PC.
❌ Higher Cost
More expensive than standard filaments—wasteful if not stored properly.
❌ Printer Requirements
Requires a dual-extruder printer (or AMS system) and careful tuning for successful printing.
❌ Clogs Easily
Because it’s soft and sensitive to moisture, PVA can jam nozzles more easily than PLA or PETG.
How to Use PVA as a Dissolvable Support Filament
Here’s a step-by-step guide for getting the best results when using PVA:
1.
Use a Dual Extrusion Setup
You’ll need a printer with dual nozzles or an AMS/multi-material unit. Assign PVA as the support filament in your slicer (e.g., Bambu Studio, PrusaSlicer, or Cura).
2.
Set Optimal Print Settings
- Nozzle Temp: 185–200°C
- Bed Temp: 45–60°C (optional; use low heat to help adhesion)
- Print Speed: Slow (20–30mm/s for PVA parts)
- Cooling: Moderate (PVA prefers less fan than PLA)
3.
Tune Retractions and Wipe Settings
To avoid oozing and stringing, dial in your retractions and enable wipe towers or prime towers in your slicer.
4.
Ensure Good Storage
Keep your spool in a dry box with fresh desiccant before, during, and after printing. If it gets soft, brittle, or discolored, it’s likely compromised.
5.
Post-Processing
Once the print is done:
- Submerge it in warm water (30–50°C)
- Agitate gently or use a small aquarium pump to speed up dissolution
- Change the water if it becomes cloudy or saturated
Depending on the amount of PVA, full dissolution can take anywhere from 2 to 24 hours.
Final Thoughts
PVA filament may not be something you use every day, but it fills a niche that no other filament can. When your design pushes the limits of geometry or demands flawless support removal, PVA offers an elegant and mess-free solution. Just remember: treat it with care, keep it dry, and your supports will vanish like magic—leaving behind only your perfectly printed vision.
Have you used PVA in your projects? Share your experience or ask questions in the comments below. And if you’re looking for more 3D printing tips, tricks, and material guides, stay tuned for our next post!

